FastFire 3 Mounting Tricks
First Impressions of the Burris Fast Fire 3 Red Dot Turkey Optic
This is a guest post from Joe Fichter. Joe has been hunting the woods of the Eastern US for many years and in spring you can bet he is off chasing gobbles!
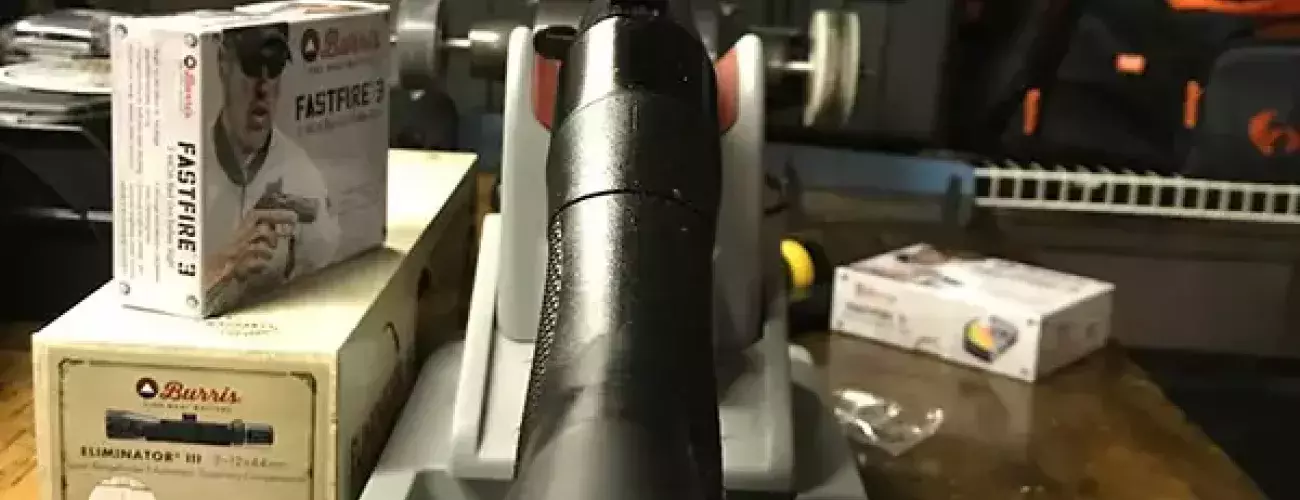
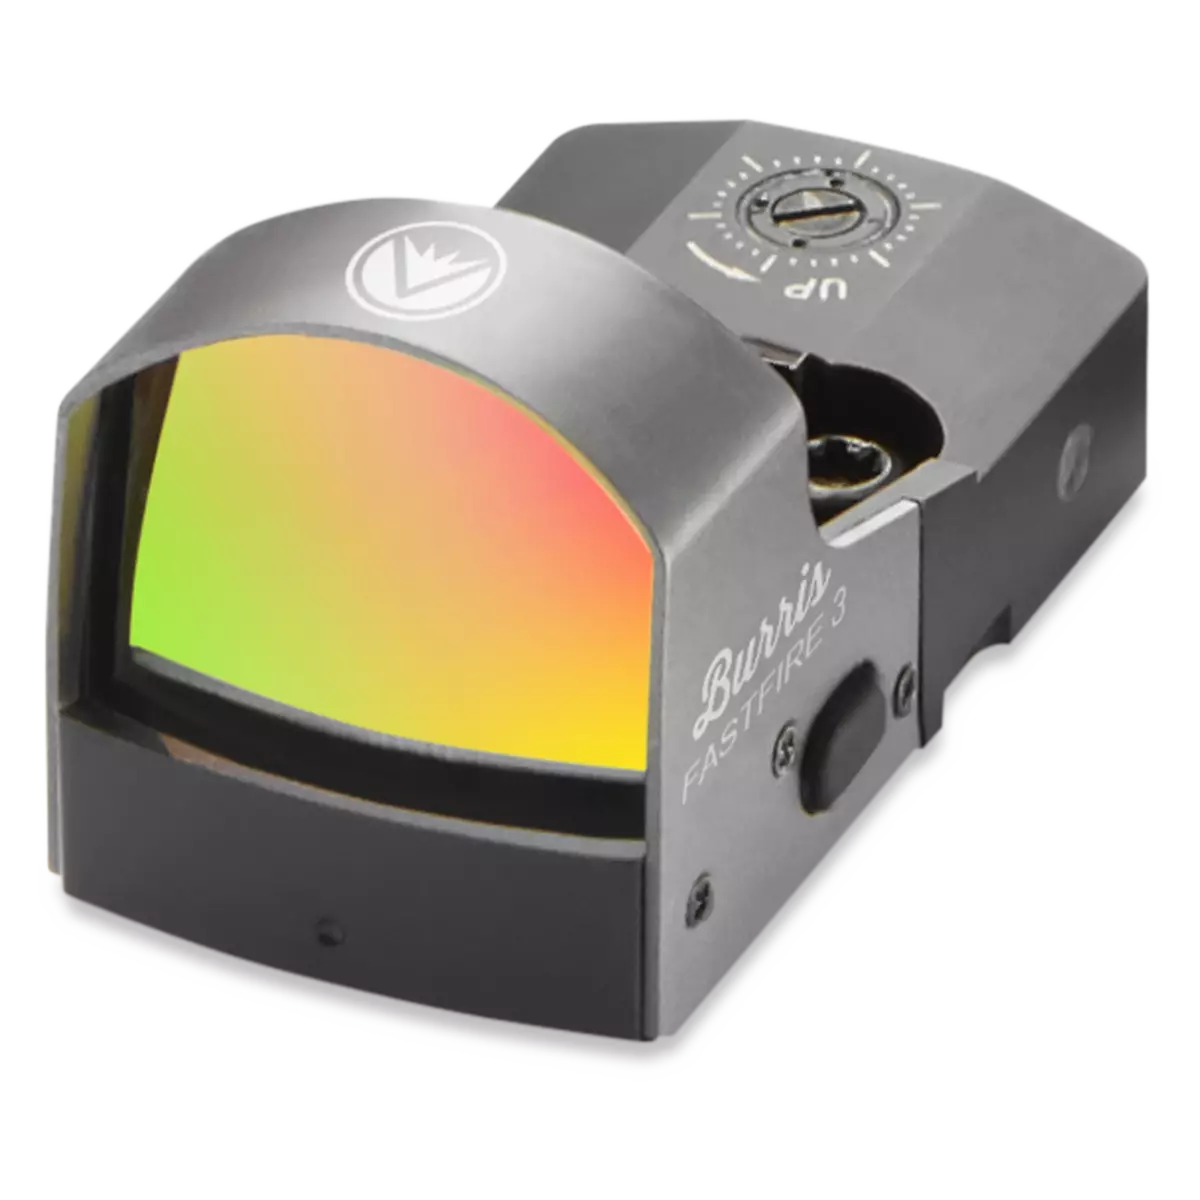
The simplicity and ruggedness of the Fast Fire 3 was readily evident as I pulled it from the box. The sight felt light in the hand yet sturdy and the angles and build of the sight left me feeling confident to mount it on a gun I knew was gonna take a beating come spring. The sight being waterproof and shockproof are necessities and would sure be tested ten times over in a spring in the PA and WV woods. Turkey season for my liking is a run and gun affair starting in an area known to hold turkeys through previous hunts or scouting. I set out with the intention of finding turkeys that want to talk and I never stop until I do. This involves some rugged terrain and my last thought is on the firearm and pampering it through the day past safety considerations.
Installing the battery was a breeze as I checked the red dot sight for function. With one click the red dot was on and holding the sight out at arms lengths my eyes immediately grabbed it and the wall beyond it. Aiming or looking through a reflex red dot is so natural and even with slight astigmatism the picture and red dot were crystal clear. Using both eyes I was able to quickly obtain different “targets” on the wall and the lack of parallax was highly obvious with my varying hold of the sight. Ramping through the different brightness levels was easily done with the push of a button and from almost no light to bright fluorescent lights the sight was easy to see. A quick walk outside at high noon proved the same for the red dot. It was very easy to pick up and acquire to “aim”. The first setting being very adequate at automatically adjusting and the different manual settings giving me the option to vary intensity for my liking with spring gobbler hunts ranging from low light to high noon.
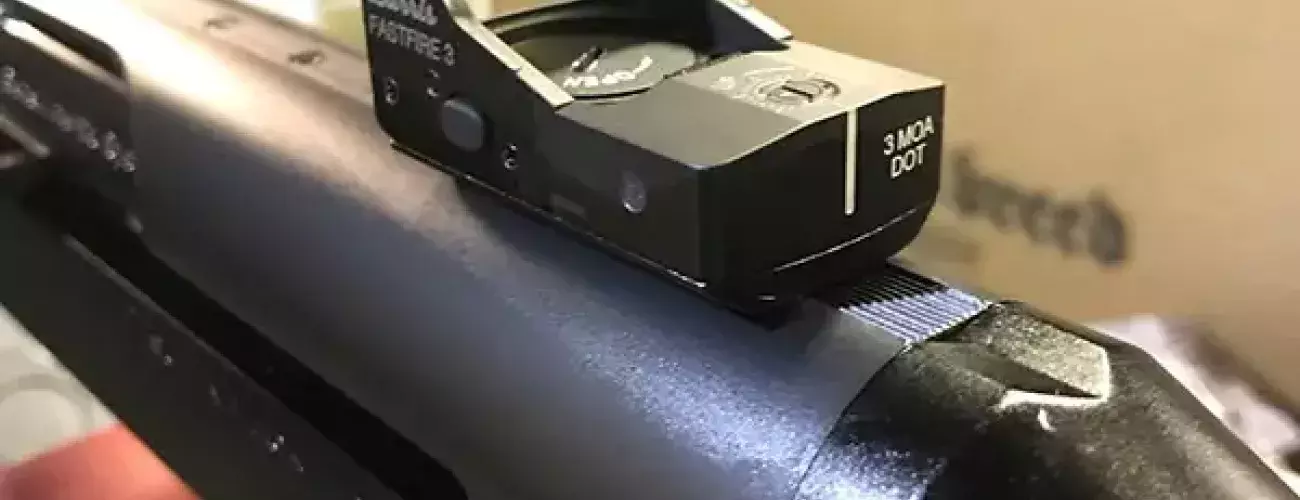
Some other features that I liked were the automatic time out feature that shuts down the sight after 8 hours and helps keep the battery going for up to 5 years. Also, when purchasing the Fast Fire 3 you have the choice between a 3 moa or an 8 moa red dot, its nice to have options! I choose the 3 moa dot which lends itself to more precise aiming at a gobblers head/neck area. It is also hard to scoff at the Burris forever warranty, though I don’t foresee ever needing it with this sight it’s nice to know you have it should the unthinkable happen. Short of having the sight stolen or losing it, it is covered with no charge, warranty card or receipt needed.
Simple, strong, and reliable like a set of beads on top of a vent rib only easier to acquire, faster on target, and a more precise aiming point.
Option 1 - Mounting the Burris Fast Fire 3 using a Burris Speed Bead mount
This is the most affordable and simple way to accomplish our goal of mounting a Burris Fast Fire to a shotgun. You simply unscrew the butt stock from the receiver and rescrew the stock into the receiver with the Speed Bead mount inserted. Once the butt stock is tightly reattached to the receiver you tighten the “wedge screw” in the mount to ensure a tight fit. Once the mount is completely secure, you attach the Fast Fire directly to the mounting plate on the Speed Bead and you’re done! The pros of this method it’s fast, easy, cheap and it mounts the red dot close to your eye. This gives you a huge field of view which is ideal, even for wing shooting. Another huge pro is this can be done with no customization to your gun. The downside is they aren’t available for every model of shotgun. We are going to proceed like this isn’t an option, even though it is for my Super Black Eagle II.
This is a Burris Stock image of what the Fast Fire looks like mounted to a speed bead on on a SBEII.
Option 2 - Mounting the Burris Fast Fire 3 to a Picitanny Rail
Mounting the red dot sight was painfully simple and my OCD (optics compulsive disorder) didn’t flare up once. This is largely due to the simplicity of mounting, the thorough instructions, and the lack of needing to level the sight. When installed properly with a quality base, rail, or using the speed bead the red dot sight will more less be dead level. Also, with a single red dot you will not get the crooked crosshair craziness that you can get with a conventional scope when not using more specialized “gunsmithing” tools.
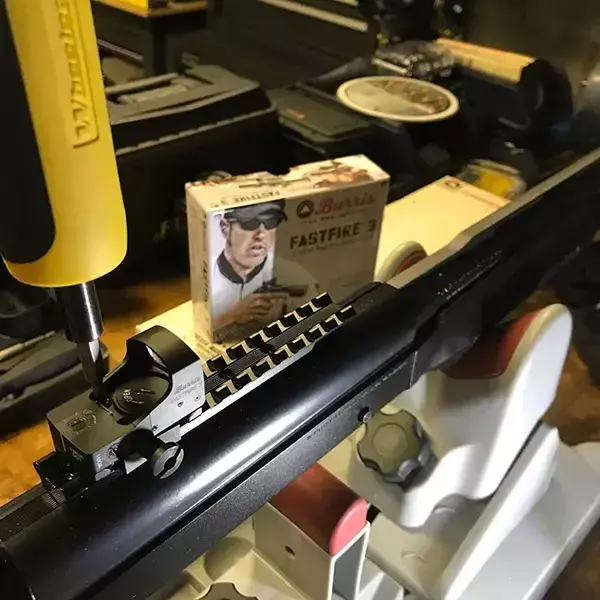
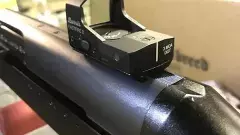
I used an EGW picatinny rail on top of my Benelli SBE 2 to mount the Fast Fire 3. The rail itself is very solid and well made with great tolerances. The one thing I disliked about the rail was it’s overall size on top of the receiver and the height it put the red dot above the receiver. None the less I did like how stout and solid it was and knowing the abuse this gun would take in a typical spring gobbler season I kept it firmly fastened. Don’t forget to follow mounting instructions for the rail you choose and always ensure the gun is safe and not loaded before doing any work on any gun.
With the rail solidly attached to the receiver I then attached the picitanny base for the Fast Fire 3. Using a Wheeler fat wrench I torqued the cross bolt to 20” pounds as I pushed the base forward in the picatinny slot I choose to mount the base in. This is done to help keep the base and sight from being slammed forward into the picatinny rail due to recoil and inertia. To note I put the base towards the back of the rail closest to the rear of the receiver where it would be as close as possible to my eyes. This would help with acquiring the dot quicker and easier while giving me the best field of view possible. With the picatinny base solidly attached I then put the red dot sight on the base and using the included screws attached the sight to the base. Once again using the Wheeler fat wrench I torqued the screws to 12” pounds and just that quick was done with mounting the sight.
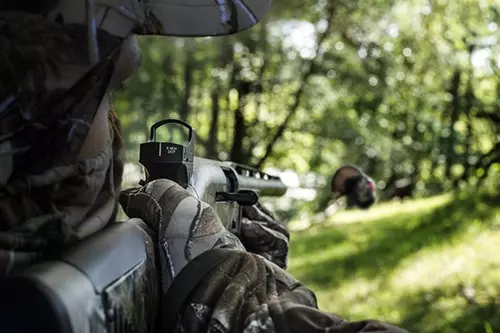
Shouldering the gun it was immediately evident how incredibly fast the red dot sight was. My eyes immediately grabbed the dot and it was naturally right on whatever I was aiming at. Literally there is no comparison to the conventional beads for sighting a shotgun as the red dot is infinitely faster when aiming the shotgun as there is only the red dot and the target to line up. With a shotgun with two beads you have to line up the two beads and the target, and with a single bead shotgun you have to ensure you have a solid cheek weld and are looking down the sighting plane to the bead and then to the target. A lot of gobblers have been missed using a single bead with the excitement of a shot opportunity causing many a hunter to lift their head and shoot over the gobbler’s beady red head.
The red dot was lightning fast to acquire with one or both eyes open, and even with awkward or less than optimal cheek welds the red dot was still visible in the sight window. Due to the lack of parallax in the true 1x reflex sight the gun will shoot where you see the dot. This is a great advantage for turkey hunters as any one who has hunted them knows they never come in where they are suppose to and you always end up at awkward angles centering them up for the shotgun wedding.
Option 3 - Mounting the Burris Fast Fire 3 Base Plate Directly to the Shotgun Receiver
Mounted on the pic rail the red dot was solid as you could want it. However, I wasn’t happy with the height it put the red dot above the natural aim/point of my Benelli.
I noticed while shooting the gun with this setup I would lose my cheek weld on the gun and magnum turkey rounds are not so forgiving for this lack of form. Not wanting to add a cheek riser onto the stock of the gun to keep this turkey rig as sleek and simple as possible, I began brainstorming options. Though I will say adding a cheek riser is a sound tactical principle that long range rifle shooters have been employing for some time and is a very viable simple fix to this problem. With all this in mind I still wanted the red dot firmly seated on top of the receiver as once sighted in I knew it would be good to go even with changing barrels between this turkey setup and a longer wingshooting barrel assembly I have. The Benelli’s receiver is part of the barrel assembly and I really wanted to mount the red dot on the receiver vs the rail option for the aforementioned reasons plus it would in my opinion provide a greater level of precision for the optic on the turkey dedicated barrel assembly. The speed bead is a fantastic low mounting option but using the longer Benelli barrel assembly for rabbits, grouse, and the occasional pheasant I wanted to keep the red dot to my turkey setup and stick to the stock beads for chasing small game.
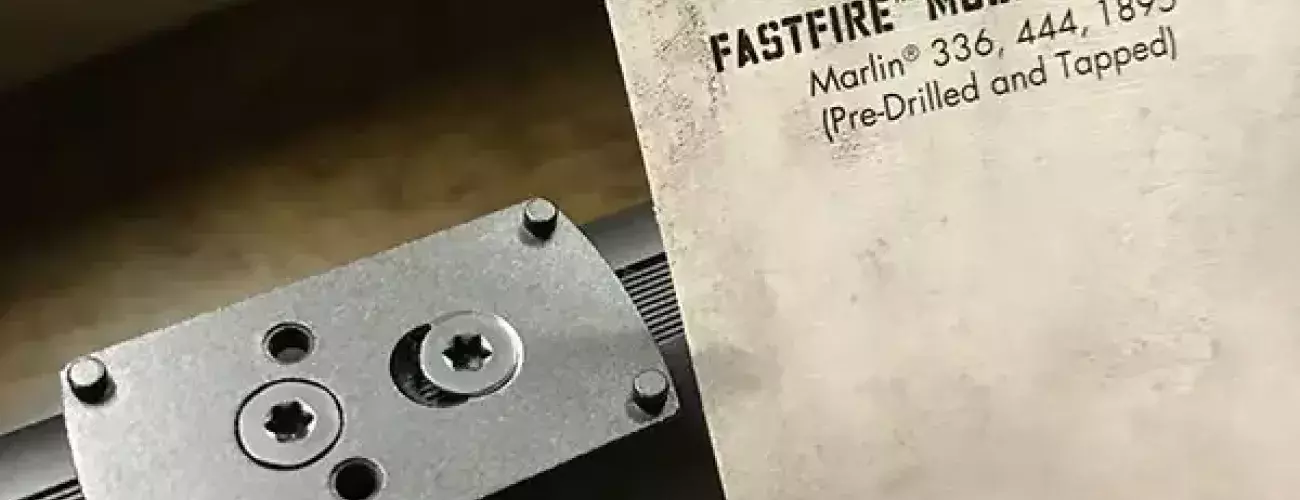
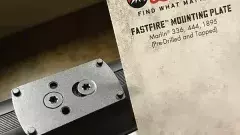
Having used the Fast Fire 3 on my bear gun, a lever action Marlin 336, I longed to mount my Fast Fire 3 on my Benelli in that same fashion. The Marlin mount being a base plate that attached to the receiver that the red dot sight mounted directly on to keeping it super close to the receiver and a natural line of sight down the gun. There wasn’t an option for the Benelli with this type of mount so i talked with my local gunsmith, Fred Carper, of Carper’s Custom gunsmithing to see if he could modify a Fast Fire 3 base for the Marlin 336 to make it line up with the drilled and tapped holes on my Benelli receiver. Fred came up with a great plan of attack on the mount and within 24 hours had modified the 336 mount and had my base firmly attached to the Benelli receiver. The base looked incredible and Fred does some amazing work, it appeared the base was made for the Benelli and was solid as a rock. Caution: This is a very precise undertaking and a tapered hole a fraction of a fraction of an inch astray will really booger up the mount and the ability to zero the sight. Have a competent gunsmith do this job so that the benefits of this red dot system aren’t nullified as this red dot is providing a rapid very precise sighting system.
Mounting the red dot to the base plate was a breeze and I torqued the Fast Fire 3 right into the base plate using 12 inch pounds of torque. The red dot was now hugging tight to the receiver and lined up perfectly with the guns natural sighting plane. This make target acquisition lightning fast and natural as pointing the shotgun with standard beads. With the gun assembled and a turkey choke tube seated in the business end of the barrel it was now time to zero the gun with turkey loads, again.
FastFire 3 Mounting Tricks Images